

How To Install?
Quick Installation Guide
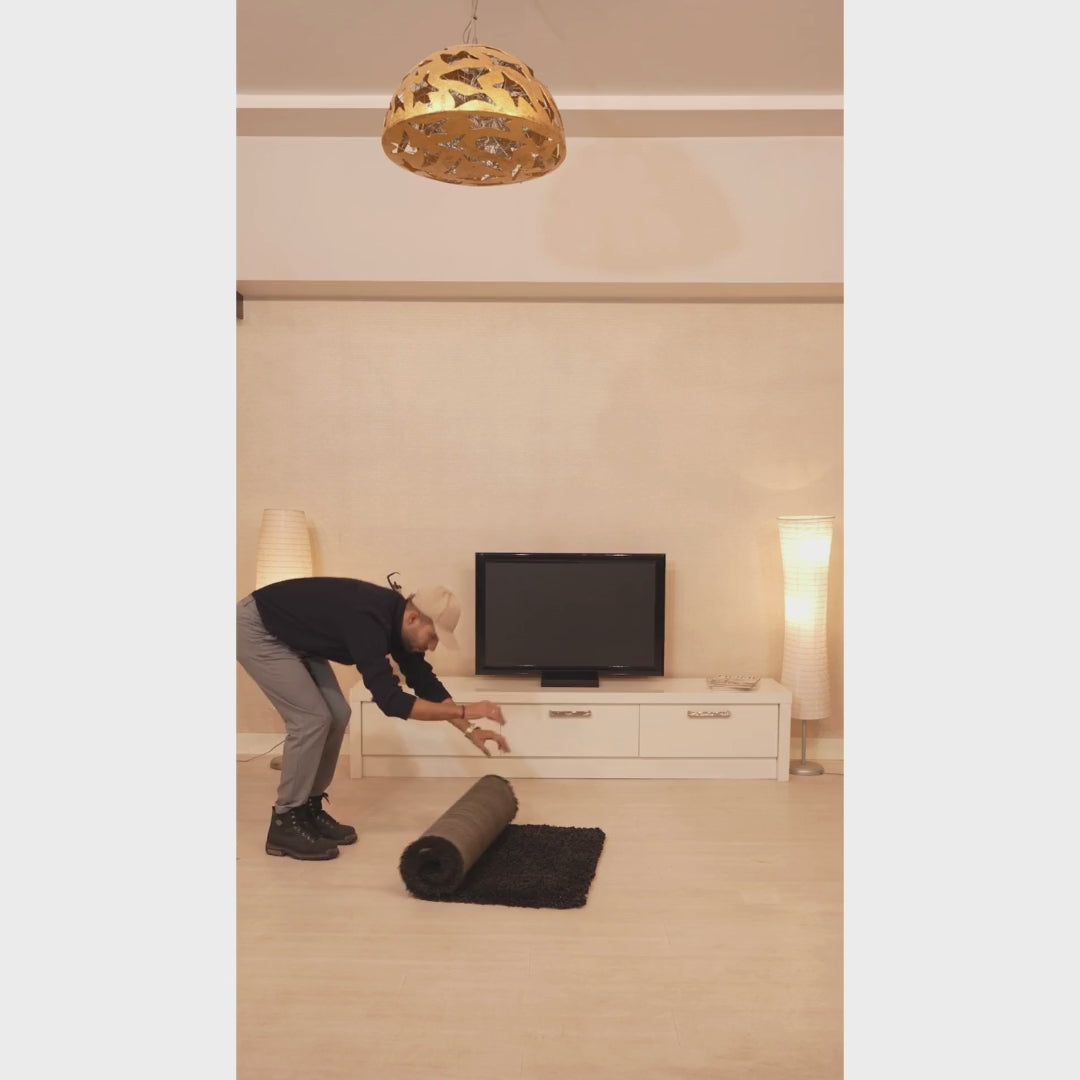
Watch this short video to see how easily you can install your acoustic wall panels — or follow the step-by-step photos below.
What you may need?
(Not included in any order)
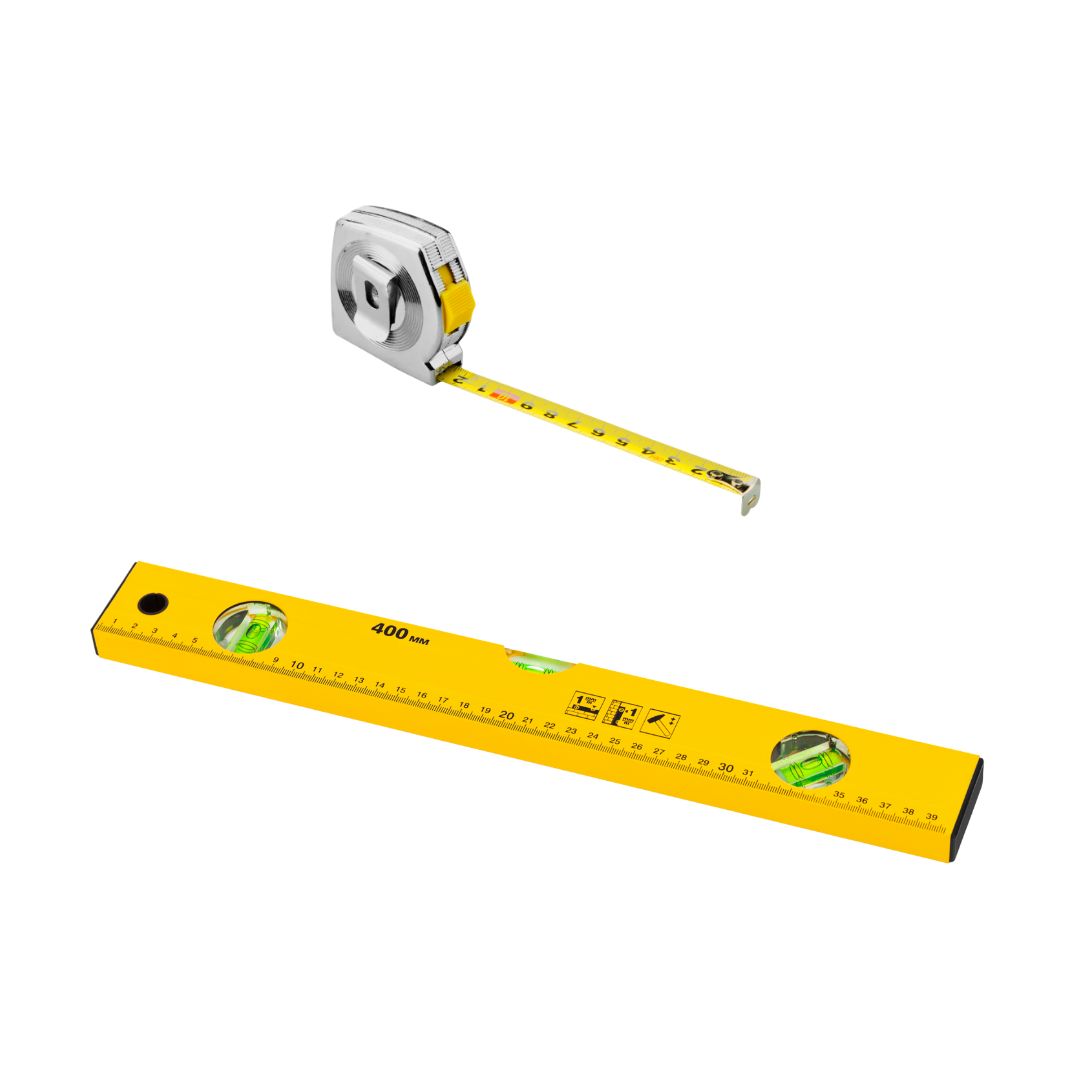
1 x Level
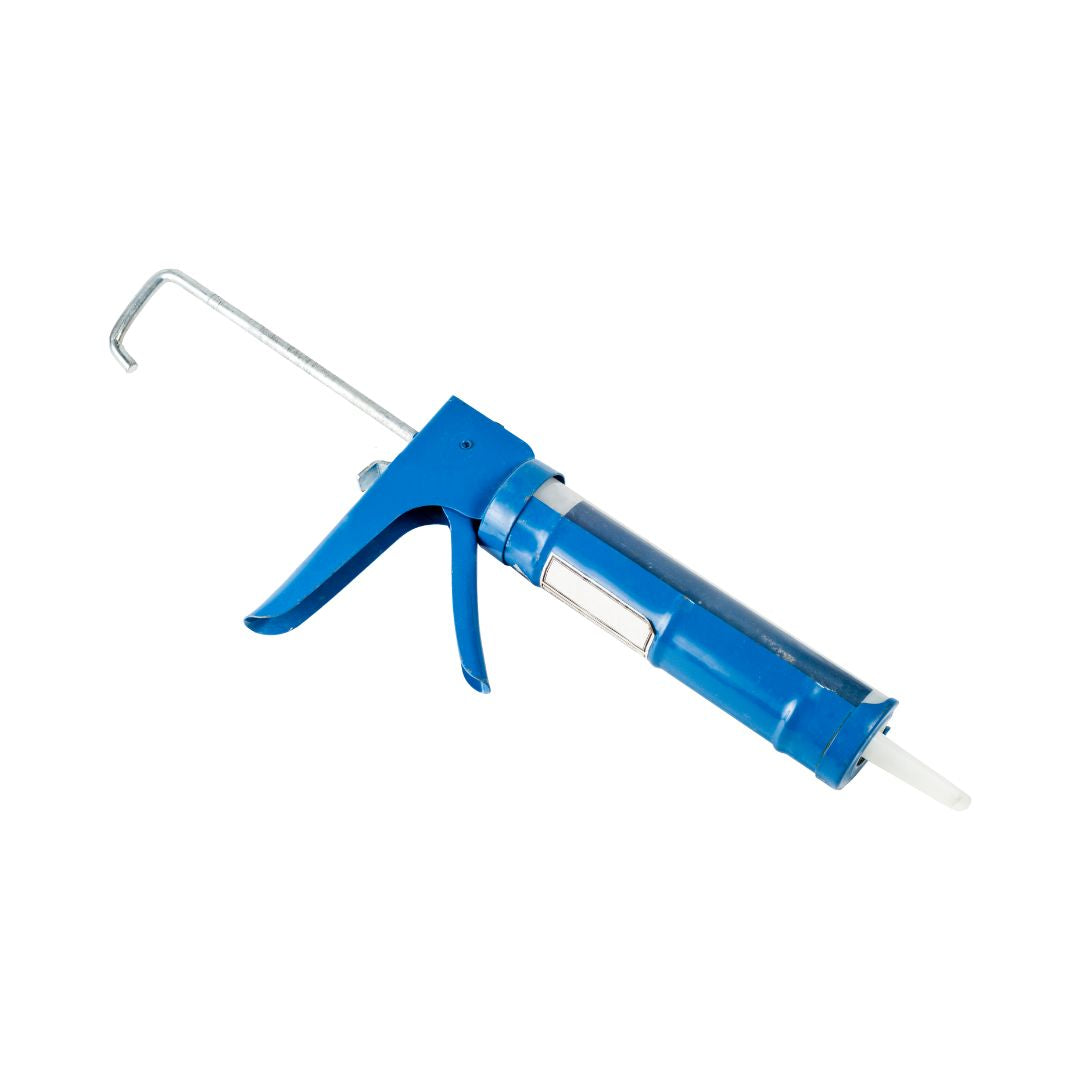
1x Silicone Gun
1x Silicone Adhesive
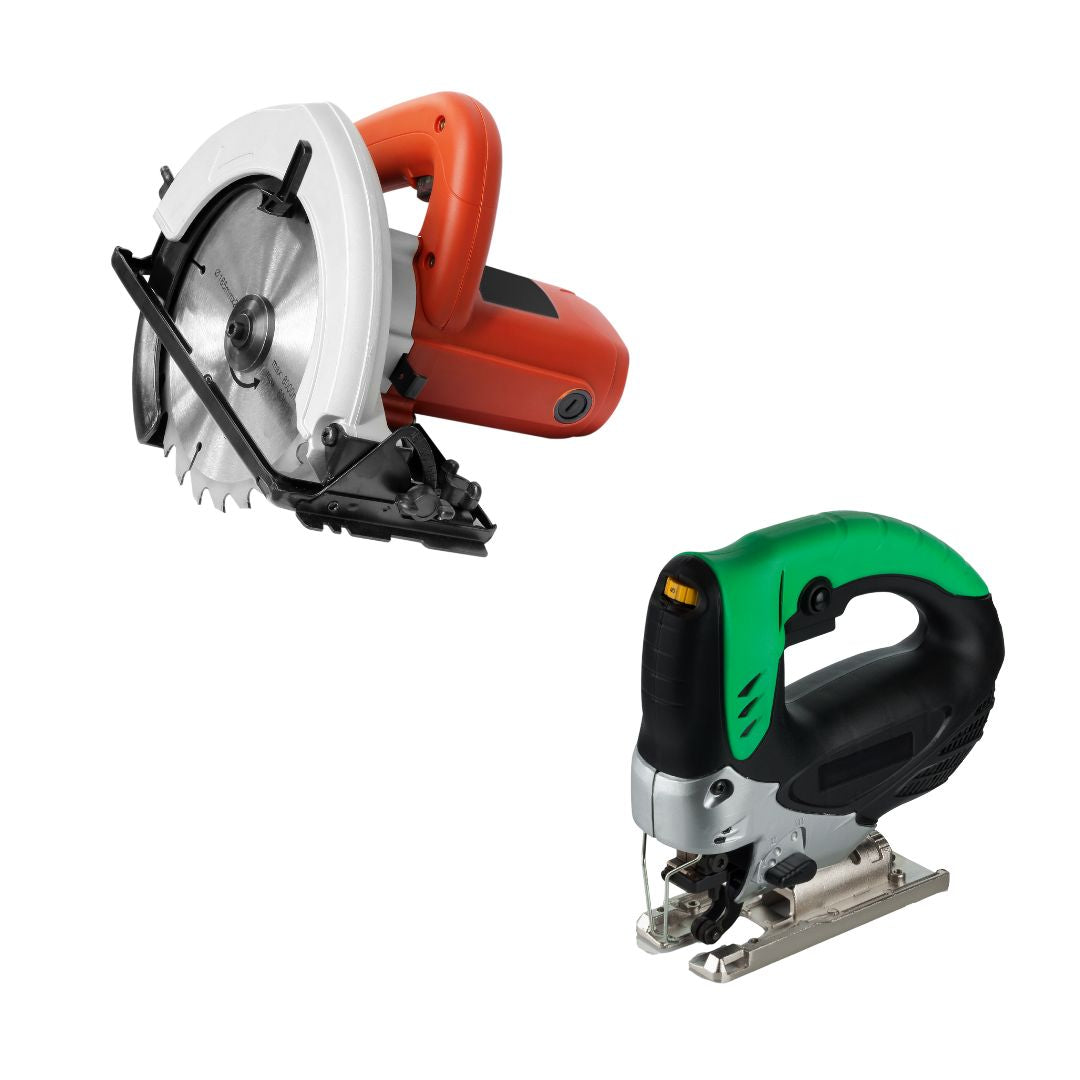
1x Sort Cutting Utility
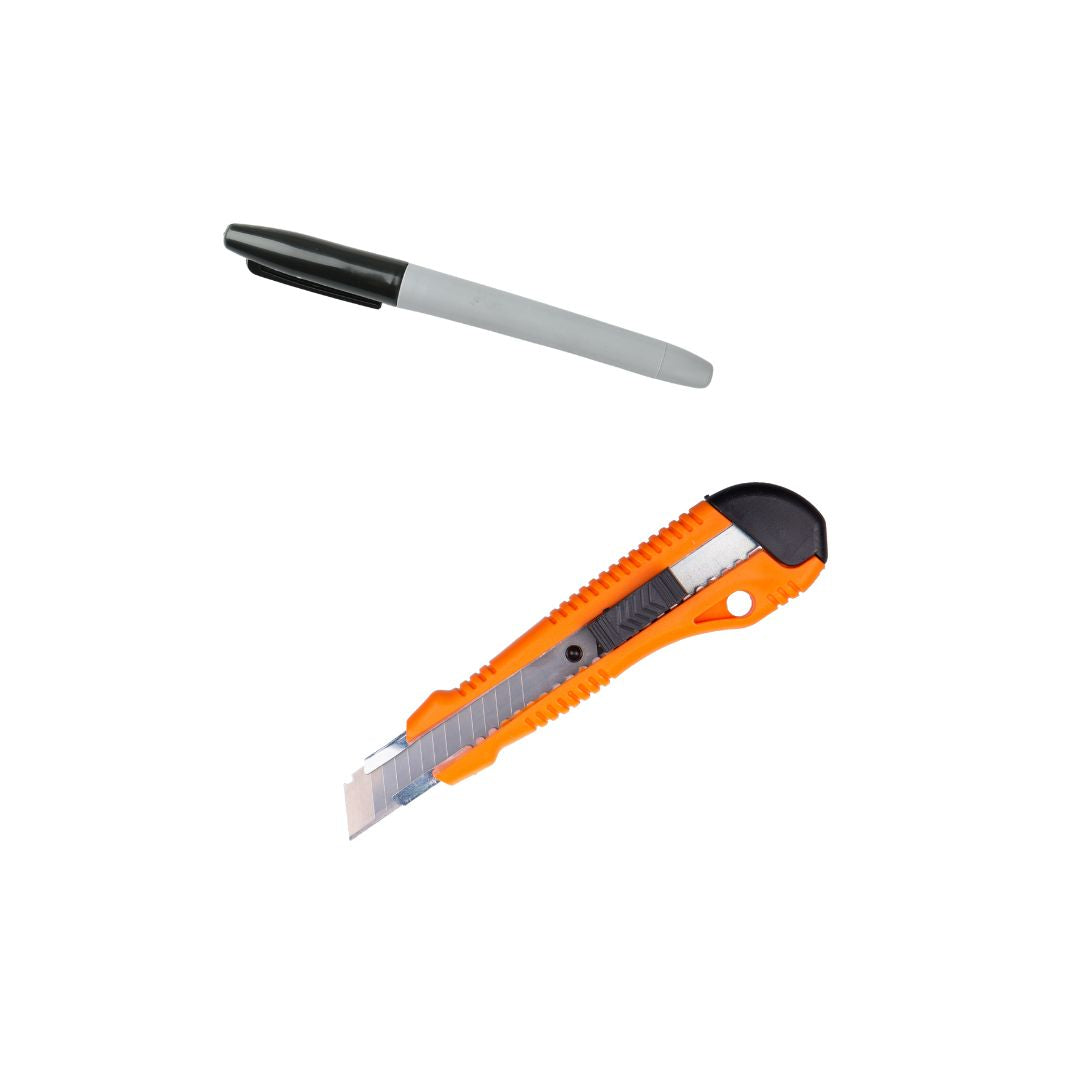
1x Marking Pen
1x Utility Knife
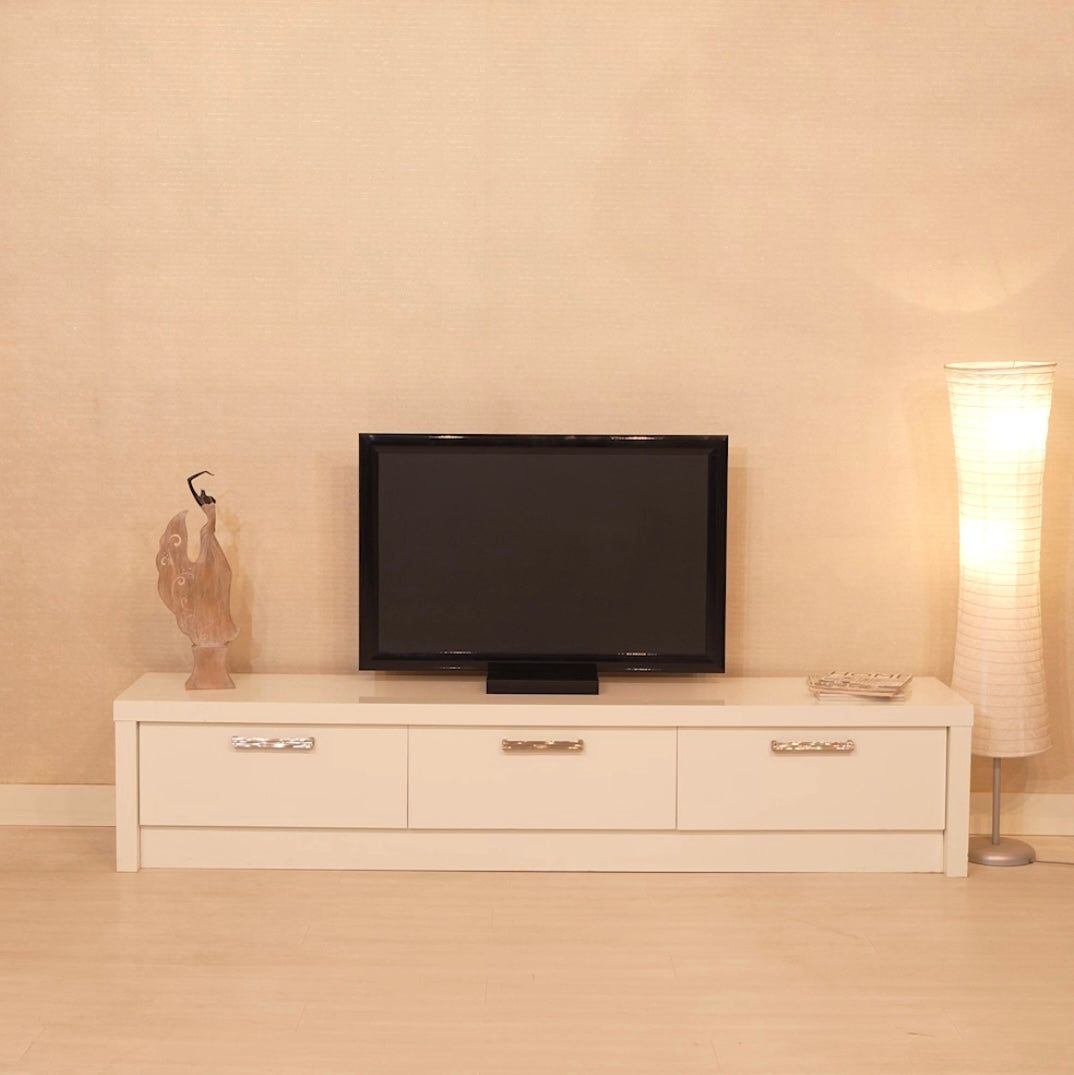
Let’s transform this space together
By adding acoustic wall panels, we’ll enhance both the look and the sound of your room.
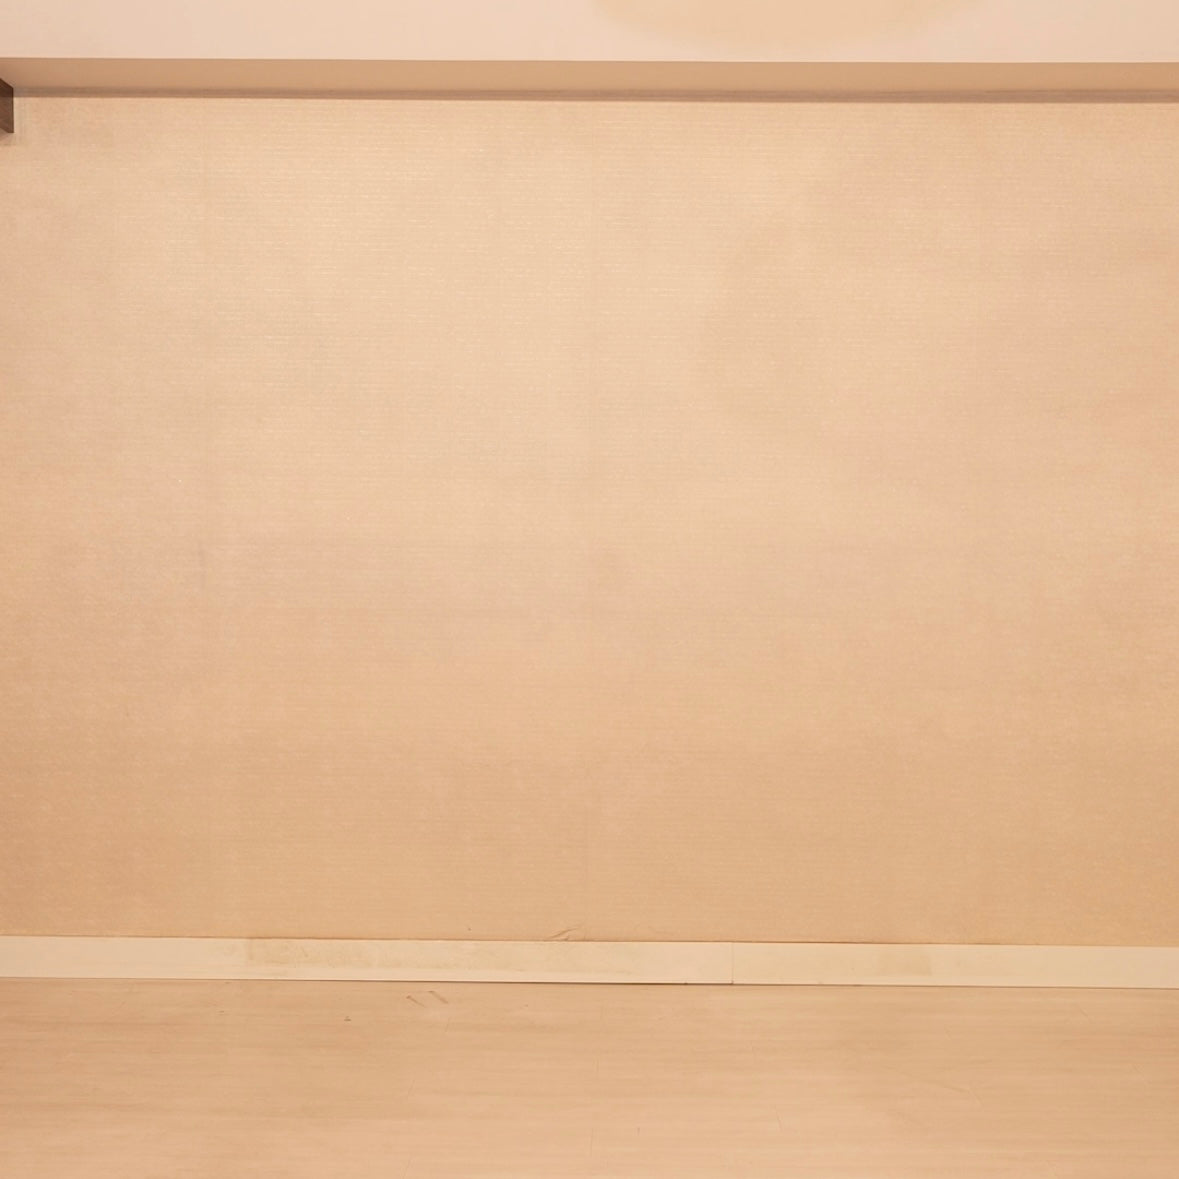
Clean the surface before installation.
Make sure it is free from dust, dirt, or any obstacles.

Measure the surface area before cutting the panels.
Accurate measurements ensure the panels fit properly and minimize material waste.
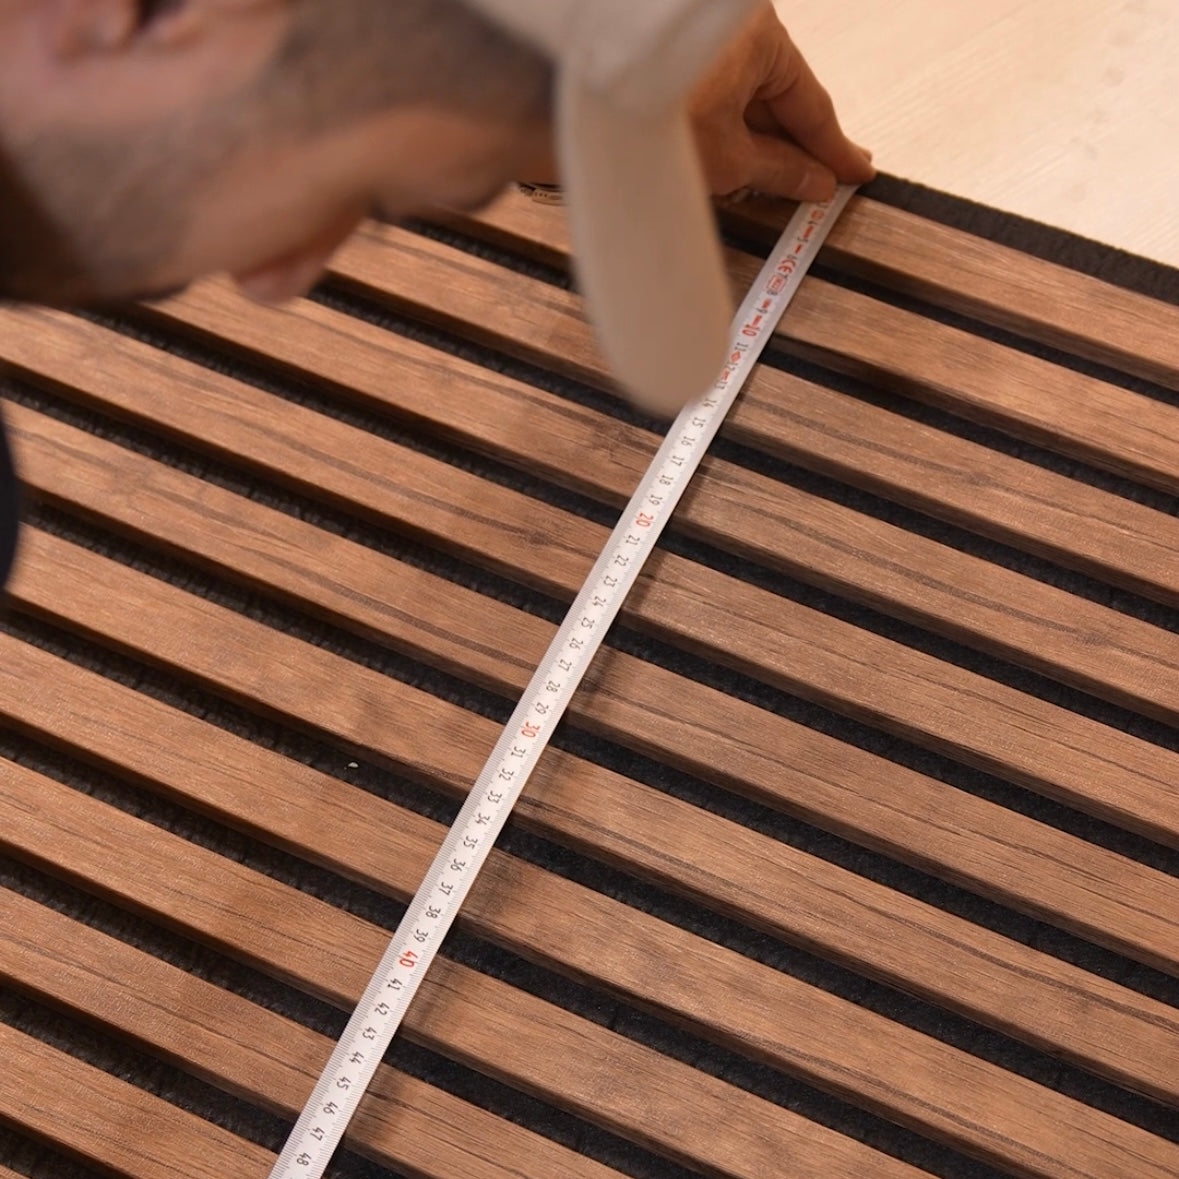
Measure your panel to the desired size.
Measure the dimensions carefully to match your surface area before marking.
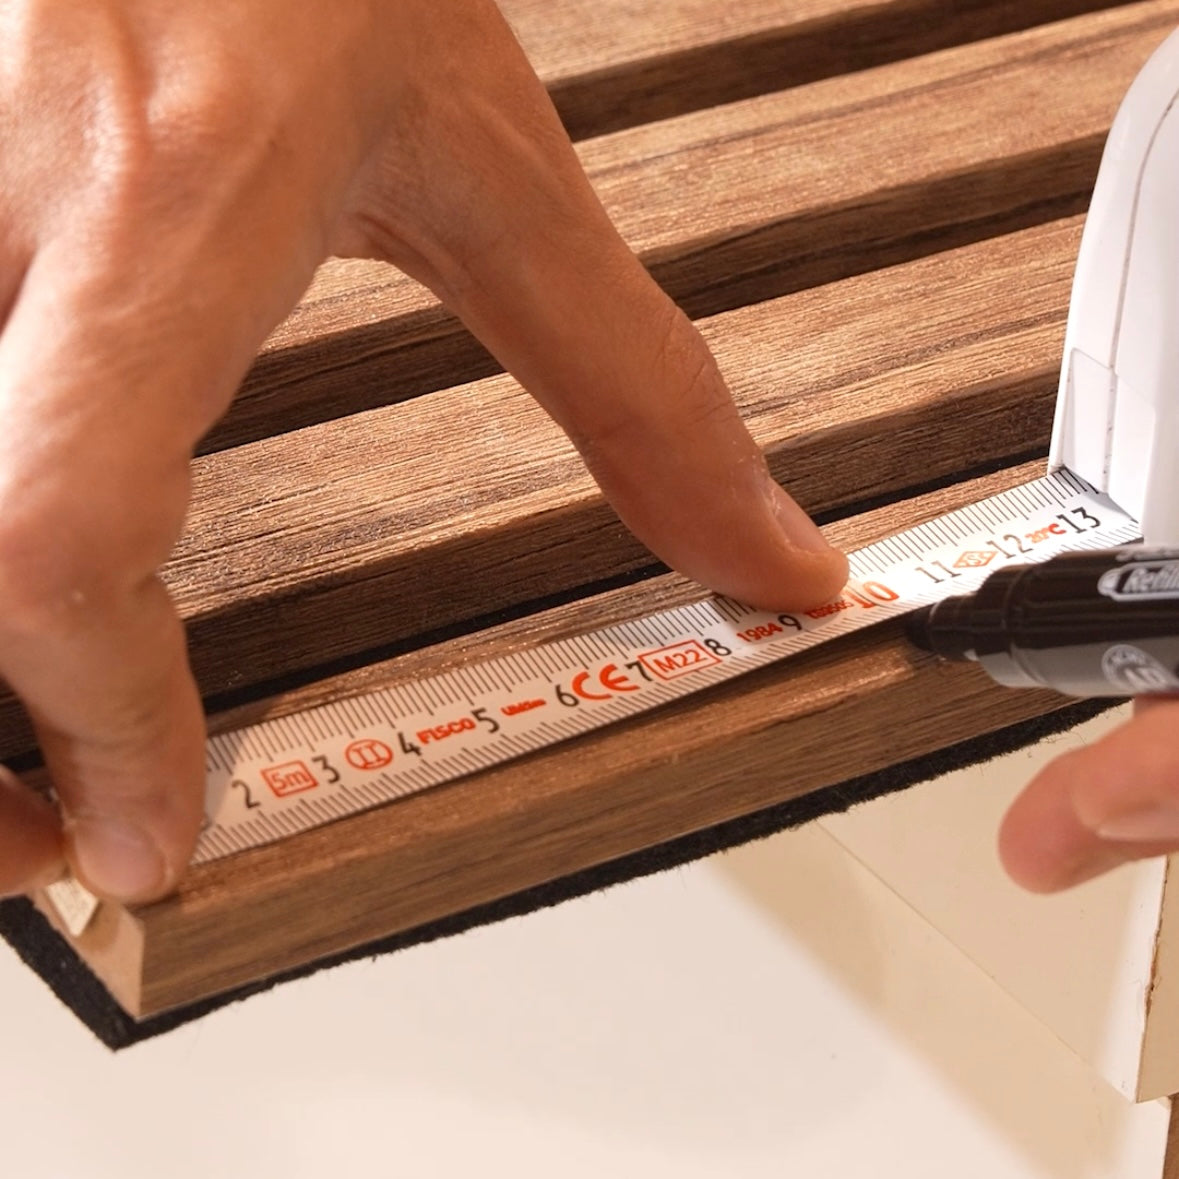
Mark the point where you will cut the panel.
Draw clear cutting lines to ensure accuracy and a clean finish.
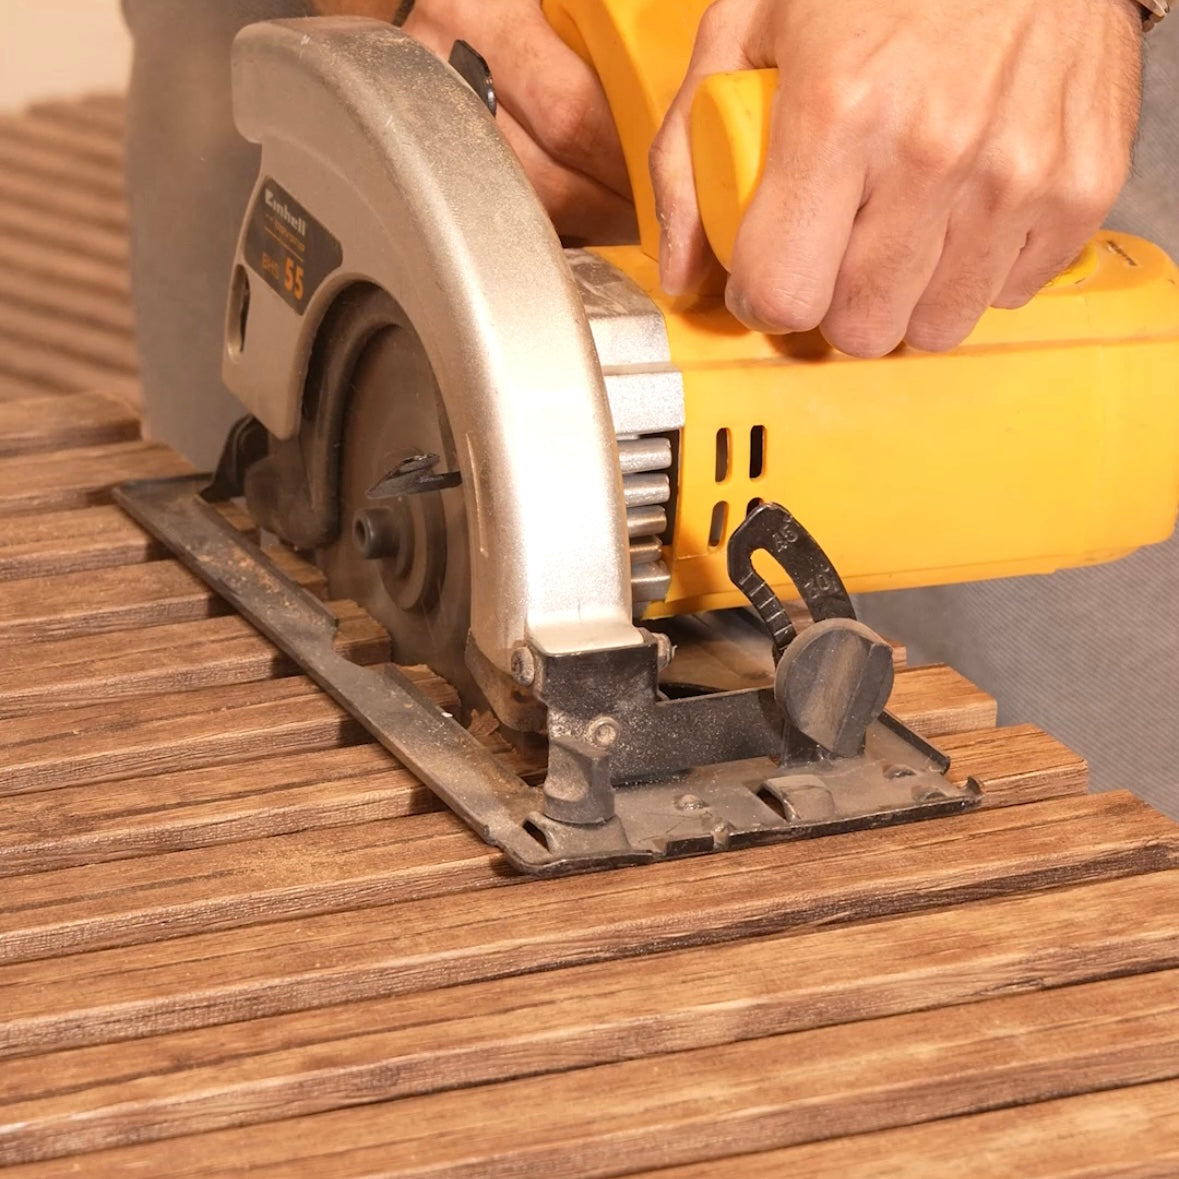
Cut the panel to the desired size.
Follow your marked lines carefully, using a suitable tool such as a circular saw, jigsaw or track saw for the salts and utility knife for the felt depending on the type of cut required.
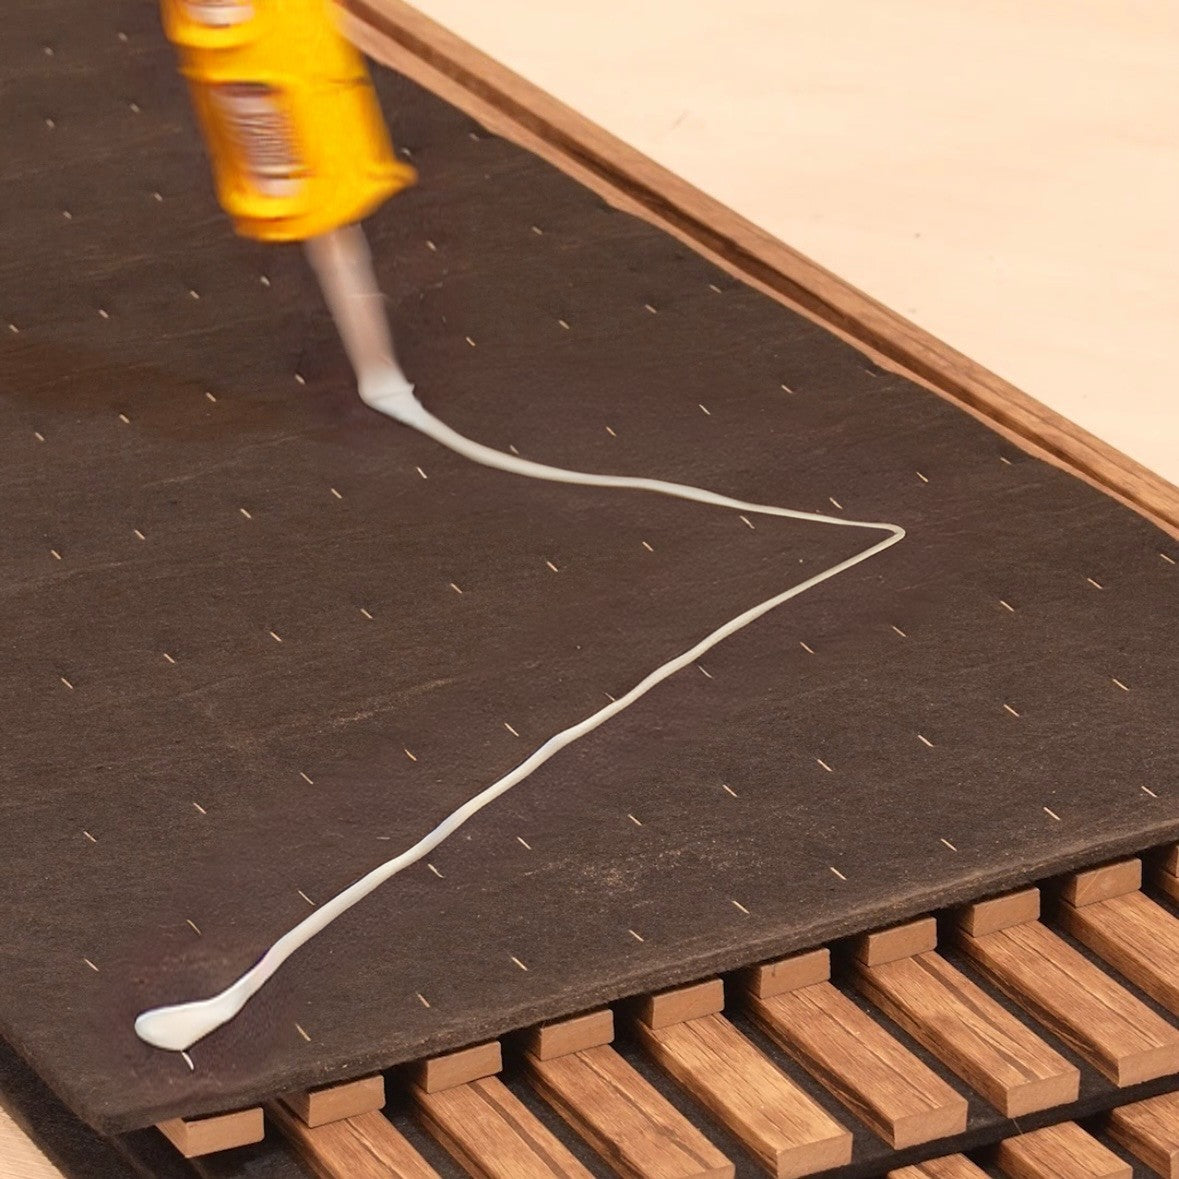
Apply silicone adhesive to the back of the panel.
Spread it in wide triangular zigzag patterns to ensure strong and even bonding with the wall surface.
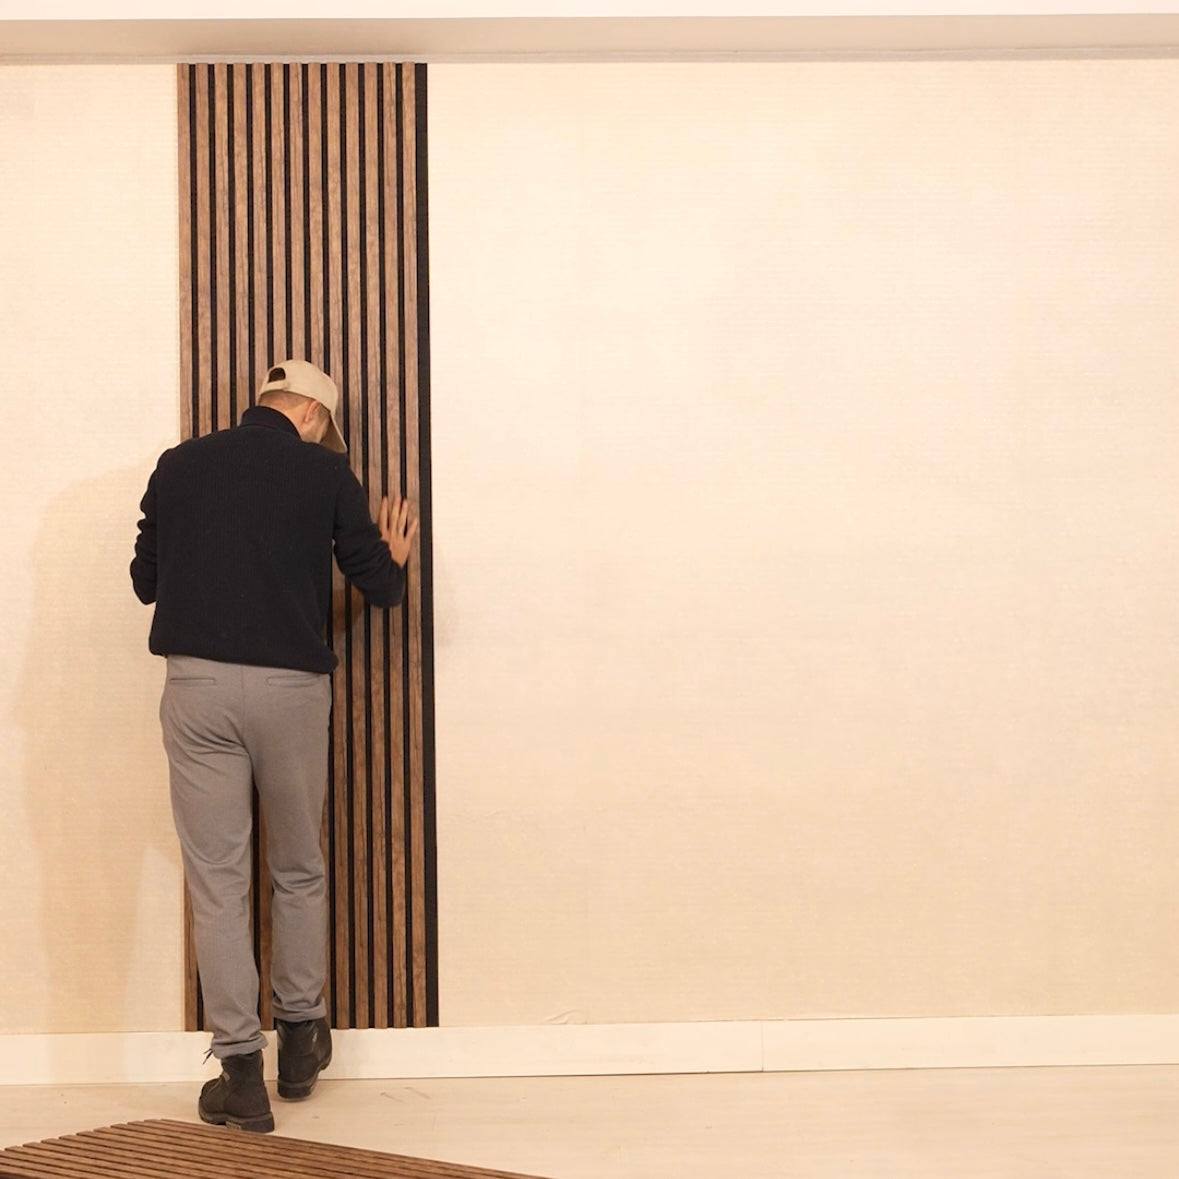
Start applying the panel to the installation area.
Press the panel firmly against the wall, aligning it with your marked points for proper placement.
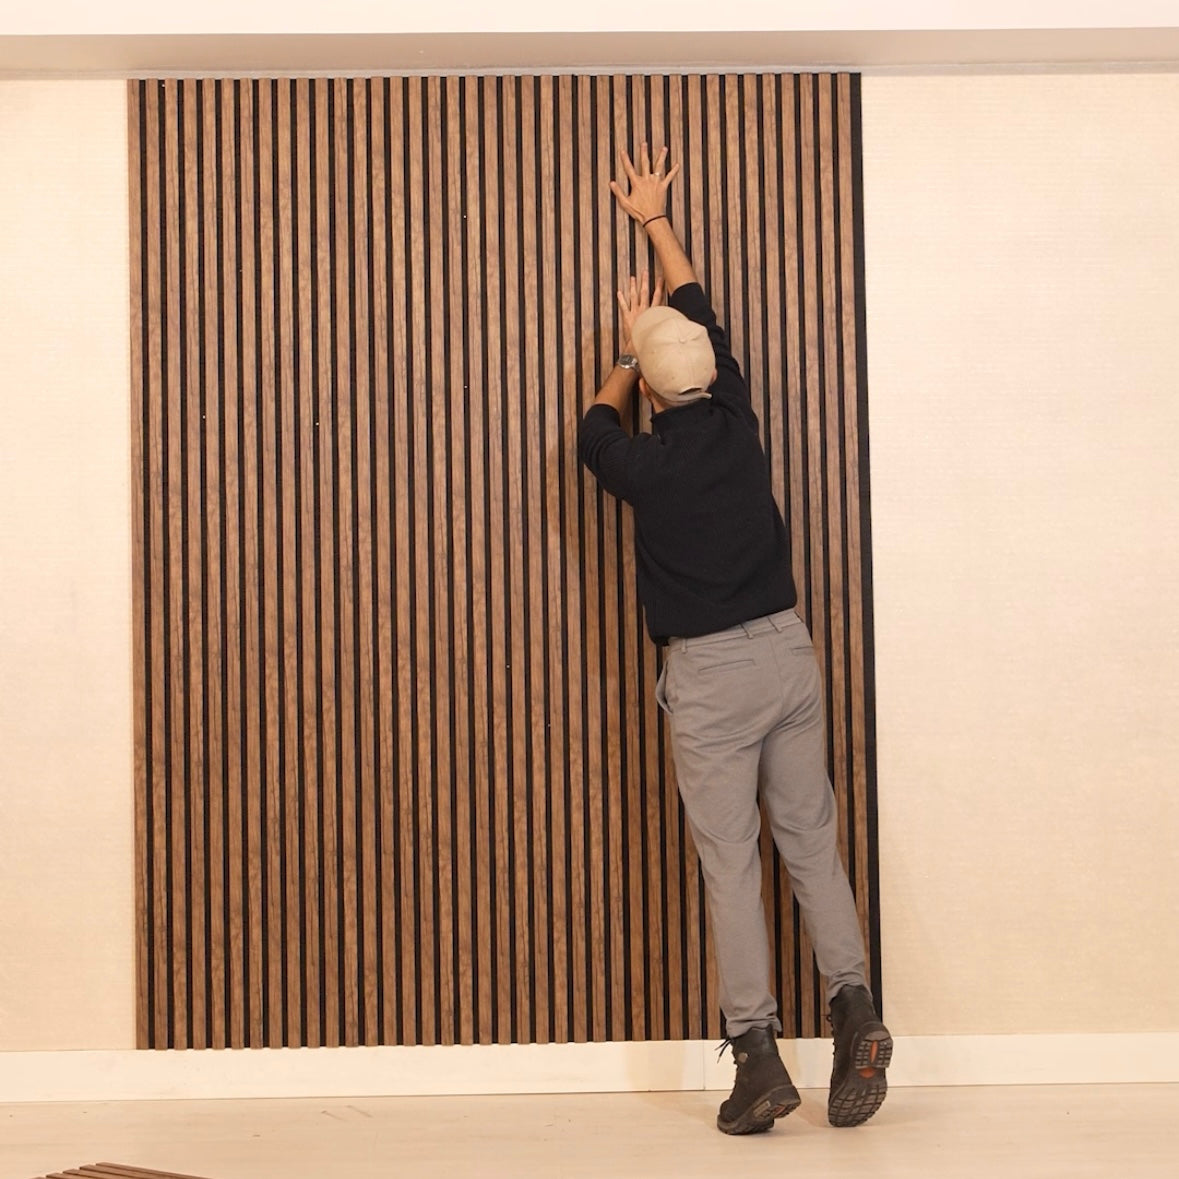
Align each panel so one edge slides into the other.
Gently push the panels together to create a seamless joint without visible gaps.
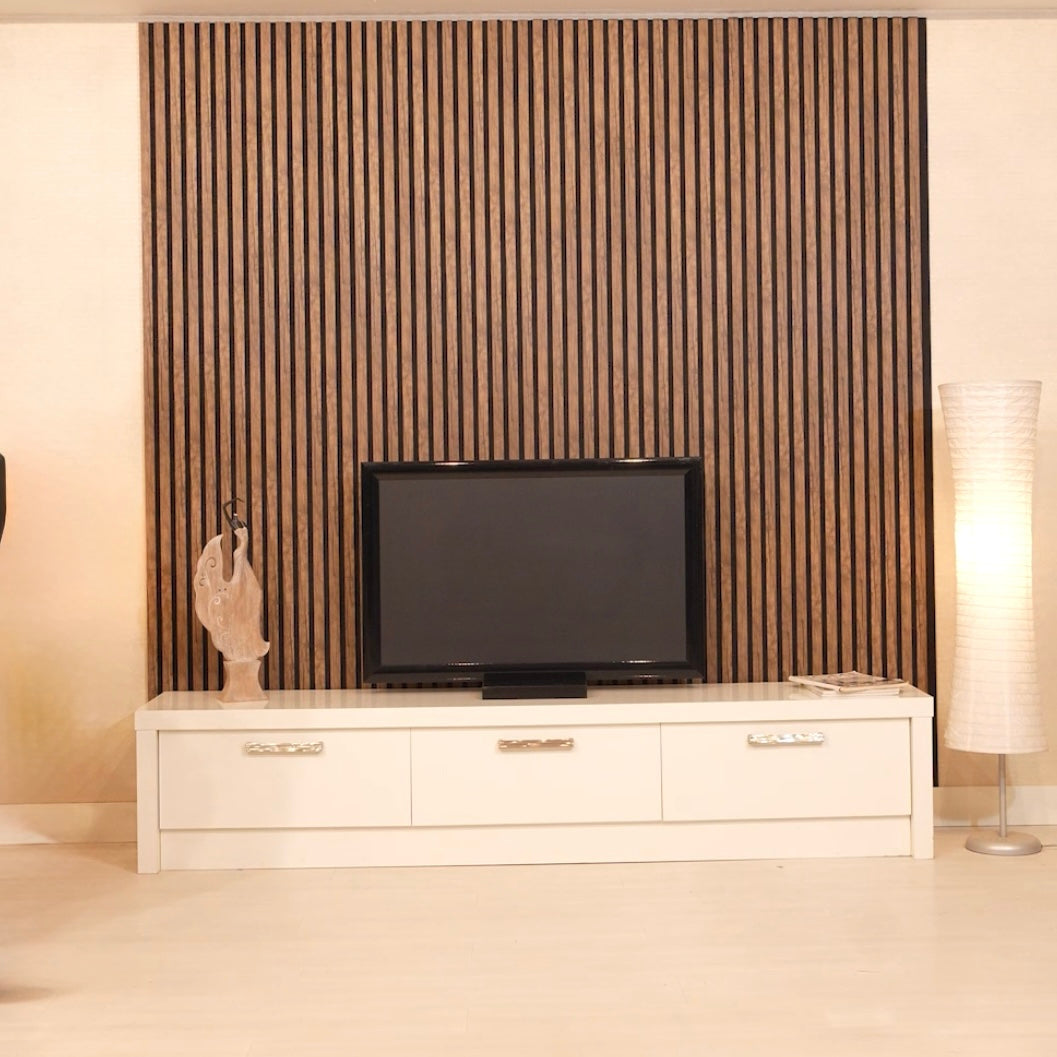
Your acoustic wall panel installation is complete.
Enjoy the improved sound quality and the upgraded look of your space.

